
Here is a great way to use basic jewelry making techniques to make a bracelet. This technique allows your beads to have an added chain appeal by connecting one bead at a time. This is also great for layered pieces. Check out the video and step by step instructions below to complete this project today.
Supplies


Directions
Here is a step by step guide on how to use eyepins to make a bracelet.
Step 1:
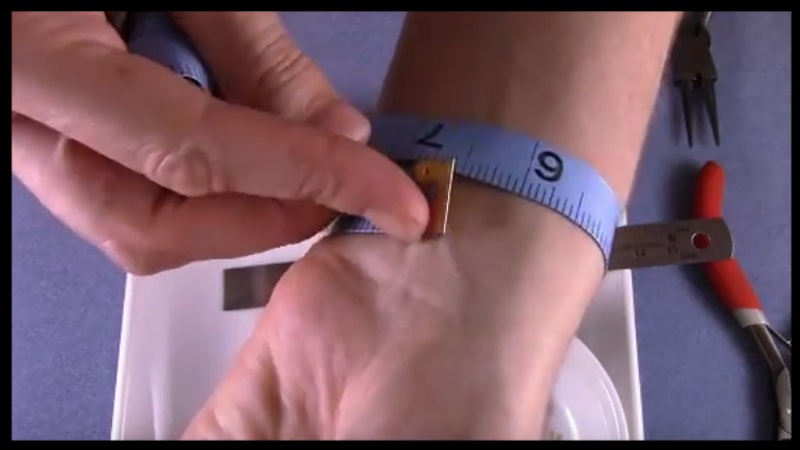
The first step to creating bracelets is to know the length/size of your design. Use the sewing measuring tape to wrap around your wrist and determine the length of your piece.
Step 2:
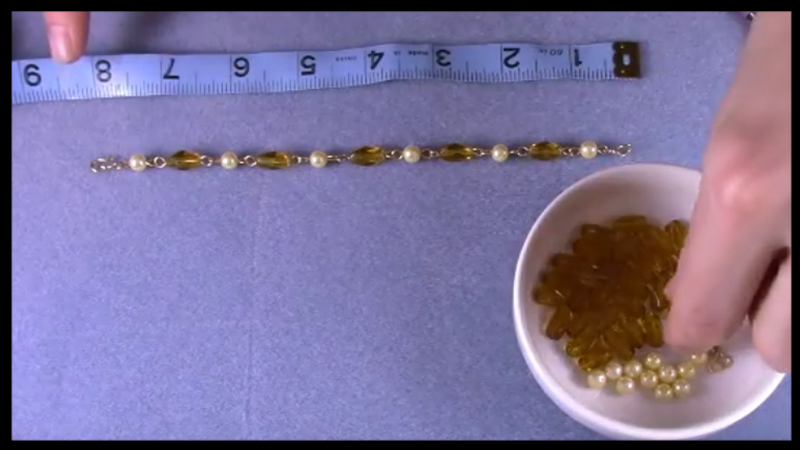
Align your beads next to the measuring tape to create your design.
Step 3:
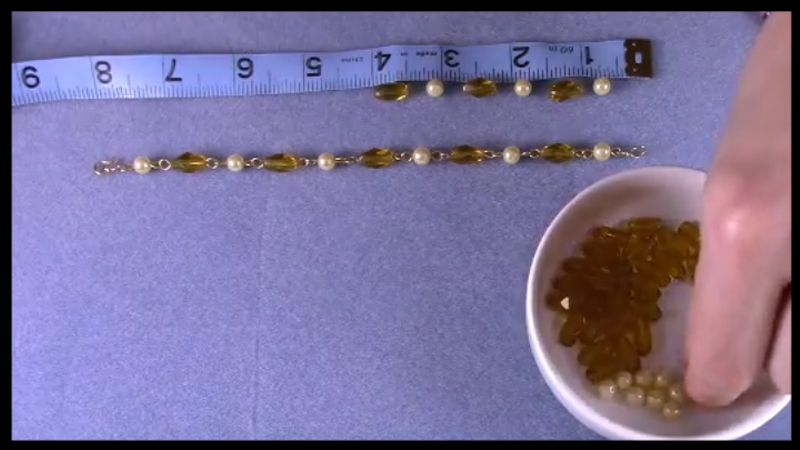
Start your pattern by leaving a 1/2 inch gap from the end before placing the first bead. Continue to leave a 1/4 inch gap between each bead thereafter.
Step 4:
Construct your eyepins using the 20g wire and pliers. I made a 1 inch length for 6mm size pearls and 1 1/4 inch for the 6×8 amber glass beads. Vary length based on your bead size. For commercial eyepins, simple move on to the next step.
Note: To see a tutorial on making your own eyepins from scratch, check out this video.
Step 5:
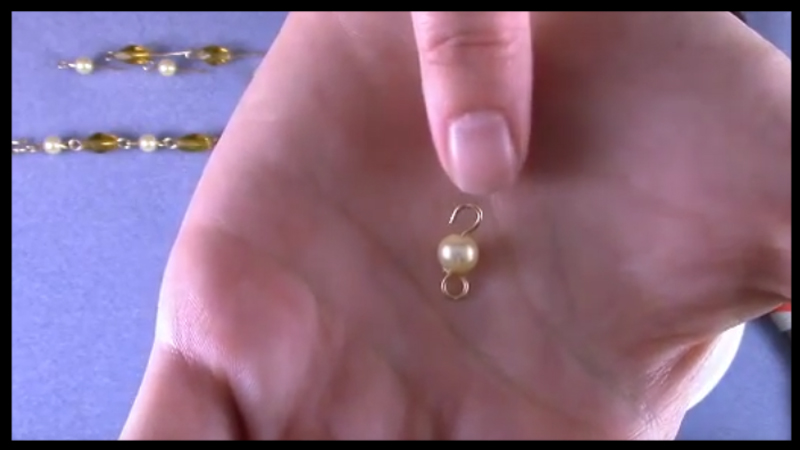
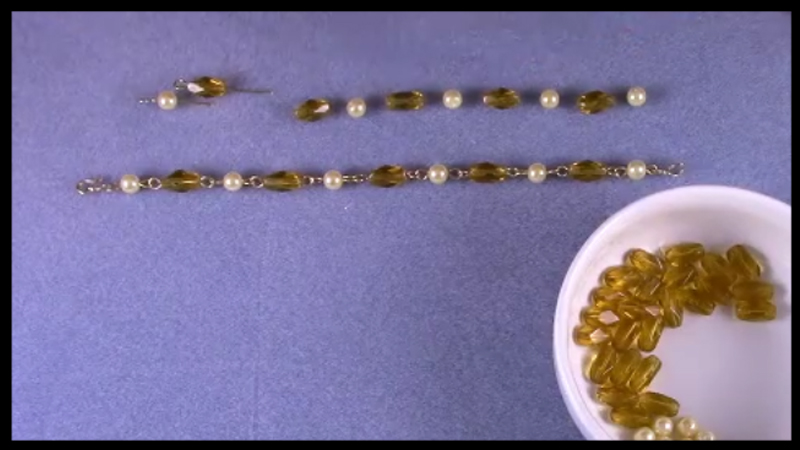
Attach the eyepins to your beads.
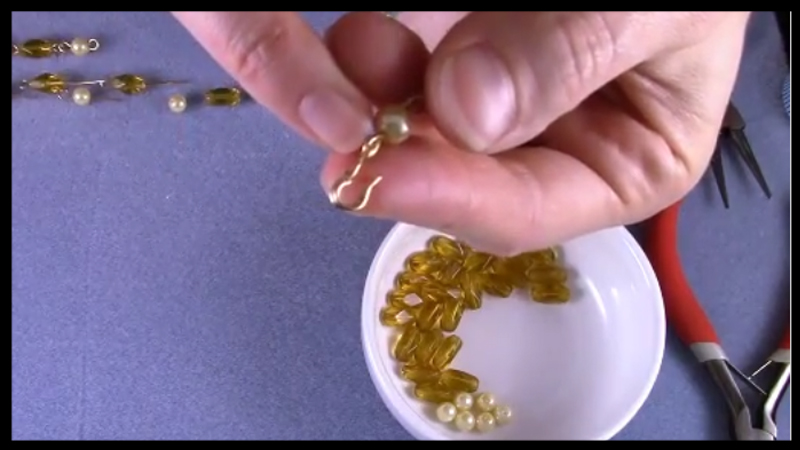
Step 6:
Create your closing loops, leaving a small gap to connect to the next bead before securing.
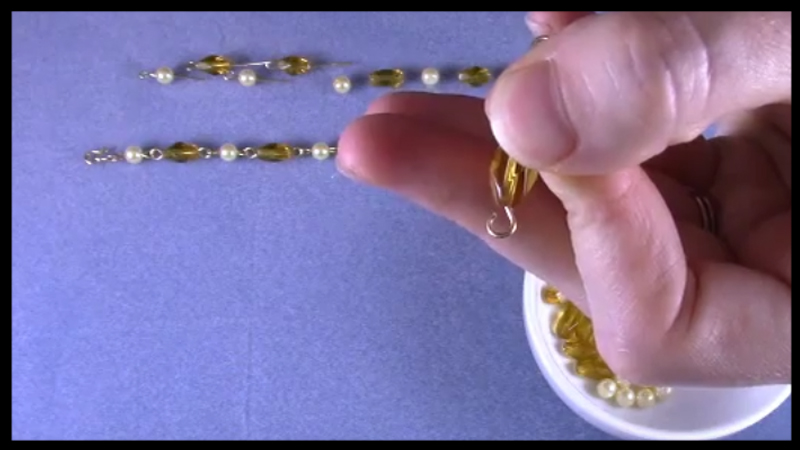
Step 7:
Secure your clasp be attaching to the end piece with a jump ring.
Tips
- Craft wire is more dense to work with. Beginner jewelry makers that work with wire may find a sterling silver coated type to be easier and softer to manipulate.
- Use stainless steel tip round nose pliers to prevent any color transfer of the black coating to the wire.
- Use a sharpie marker on your round nose pliers to mark the area of the loop. This will ensure the size of the loop is consistent when creating multiple eyepins.


