
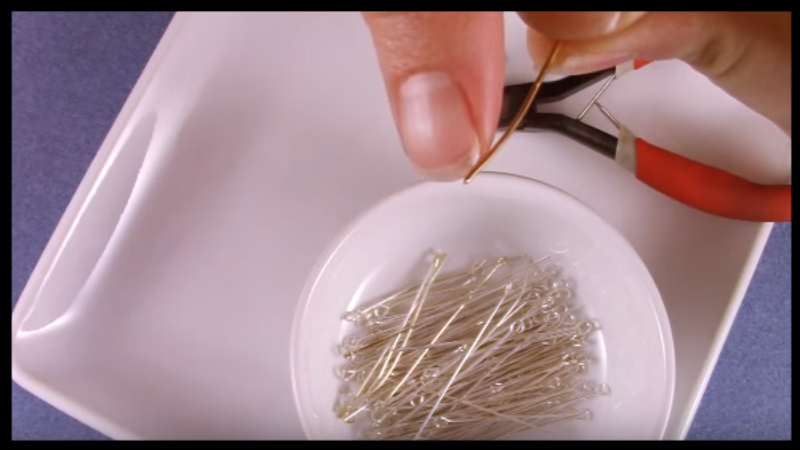
Eyepins are one of the top jewelry making supplies for crafters. Learning how to make your own from scratch is a great way to save time, costs, and add one more handmade element to your end design. Here is a look at your supplies, step by step instruction, and other important tips to keep in mind when learning to make eyepins from scratch.
Supplies


Directions
Here is an easy to follow step by step guide on how to make eyepins from scratch.
Step 1:
If working from a spool of wire previously used, trim the edge to ensure it is even before moving forward.
Step 2:
Determine the length of the eyepin you need. The average size is 1 1/2in-2in.
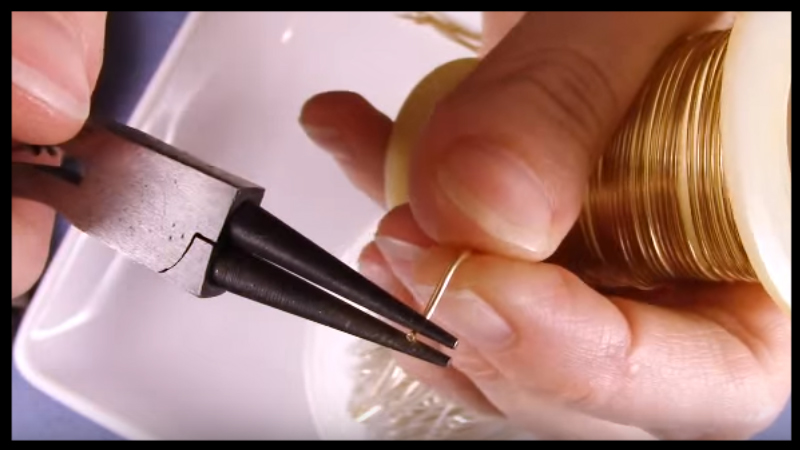
Step 3:
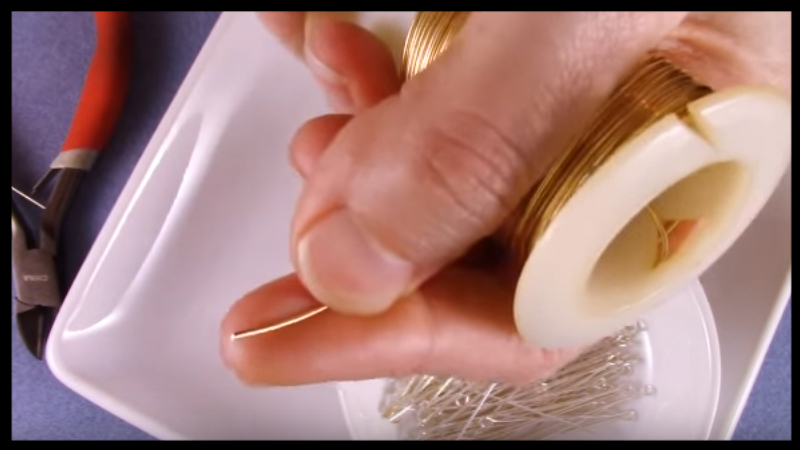
Measure 5/8in in wire from the tip.
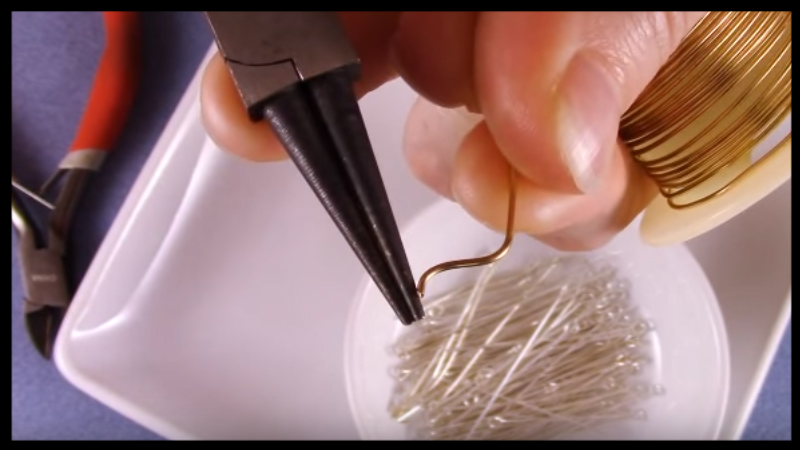
Step 4:

Bend at a 90 degree angle.
Step 5:
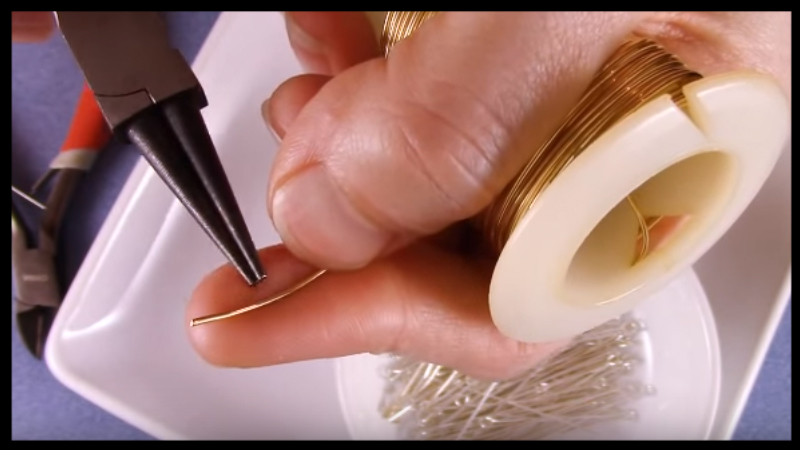
Take the tip of the round nose pliers and place at the end of the wire.
Step 6:
Bend the end upwards, creating another 90 degree angle.
Step 7:
Still holding the wire and pliers in place on the wire, flip your wrist 180 degrees, facing up.
Step 8:

Adjust your round nose pliers against the wire to the sizing area of your loop.
Step 9:

Holding the pliers and wire tightly, roll your wrist inwards, creating the circular shape at the end until the end meets the point of the first 90 degree angular bend.
Step 10:
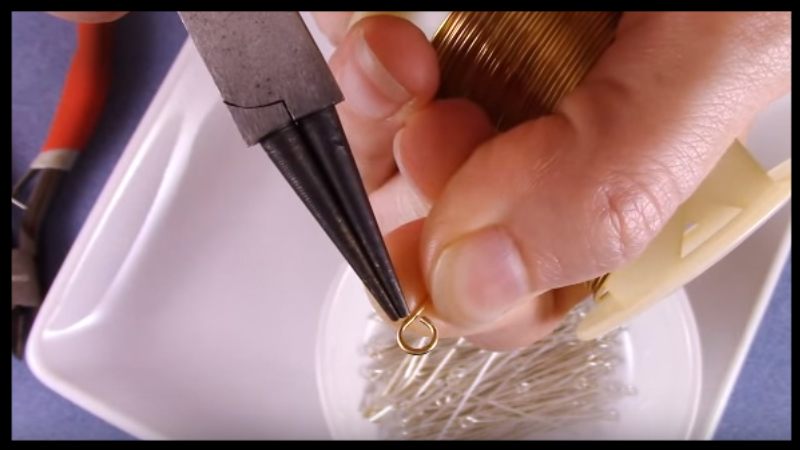
Adjust as needed to completely close and secure the loop to your jewelry piece.
Tips
- Craft wire is more dense to work with. Beginner jewelry makers that work with wire may find a sterling silver coated type to be easier and softer to manipulate.
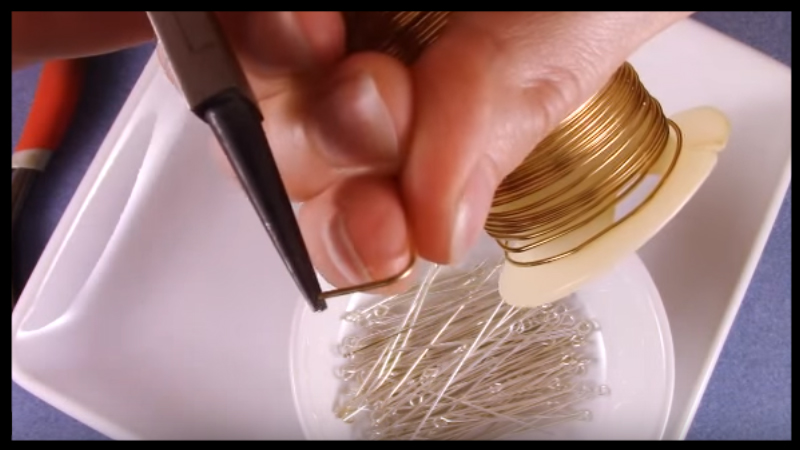
- Use stainless steel tip round nose pliers to prevent any color transfer of the black coating to the wire.
- Use a sharpie marker on your round nose pliers to mark the area of the loop. This will ensure the size of the loop is consistent when creating multiple eyepins.


