Jump rings are a key component to many jewelry making designs. Understanding how to properly open and close a jump ring will help you maintain its shape and integrity for connecting your piece together. With two pairs of flat nose pliers and some jump rings you can follow me along in this quick tutorial for the easiest way to open and close a jump ring.
Supplies
Directions
Here are the step by step directions for the easiest way to open and close jump rings.
Step 1:
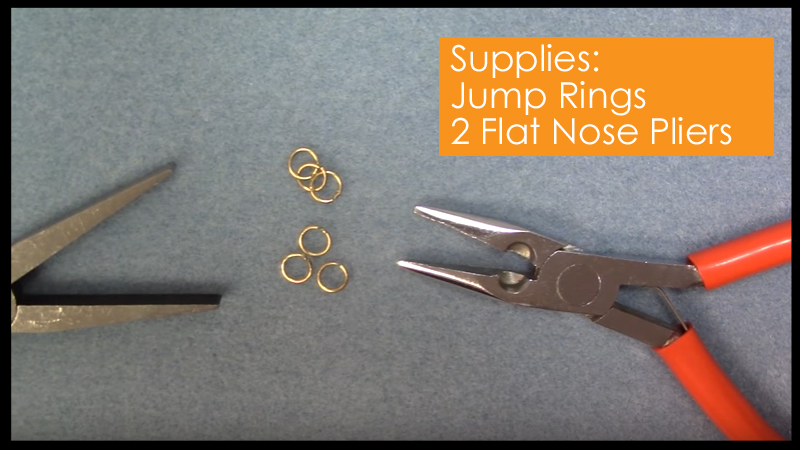
Gather your supplies together. Use either a flat nose or chain nose plier when working with jump rings. Use commercial jump rings or check out this tutorial to learn how to make your own jump rings with wire.
Step 2:
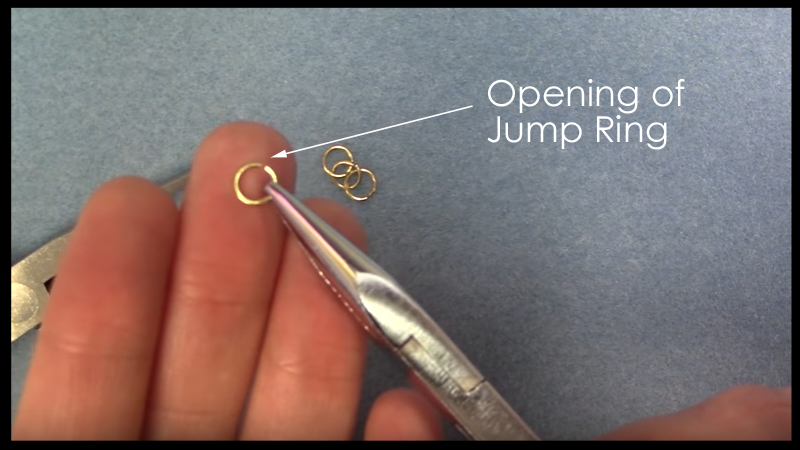
Identify the opening for the jump ring and hold upright.
Step 3:
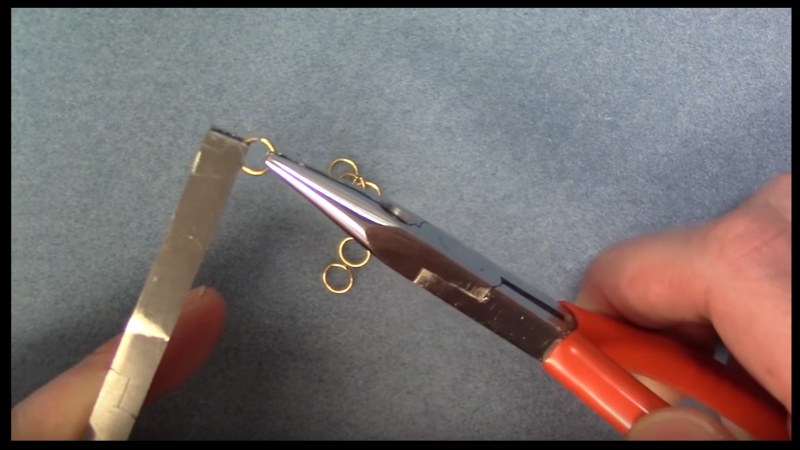
Use the second pair of flat nose or chain nose pliers to securely hold onto the other side of the jump ring. Continue to keep the opening facing upright in between.
Step 4:
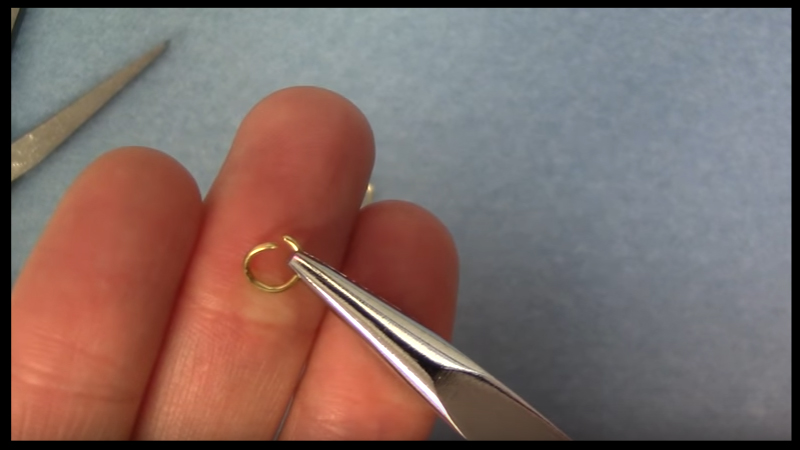
Twist the jump ring open by pushing outwards with each hand.
Step 5:
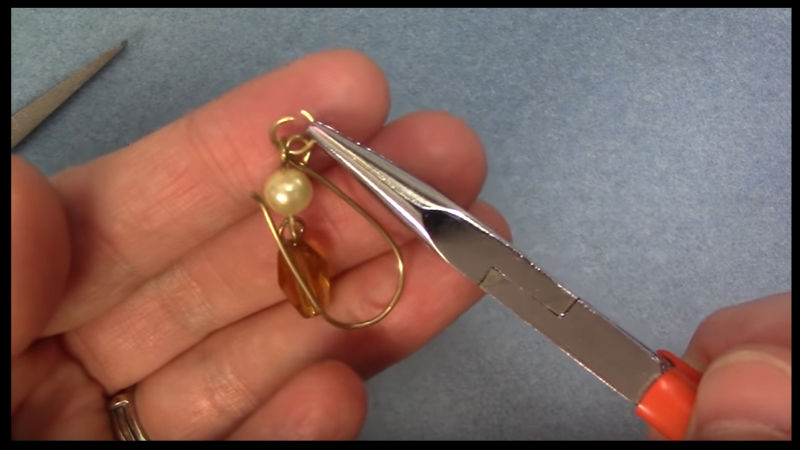
Place your beads and findings on the jump ring, continuing to hold it upwards with one set of pliers.
Step 6:
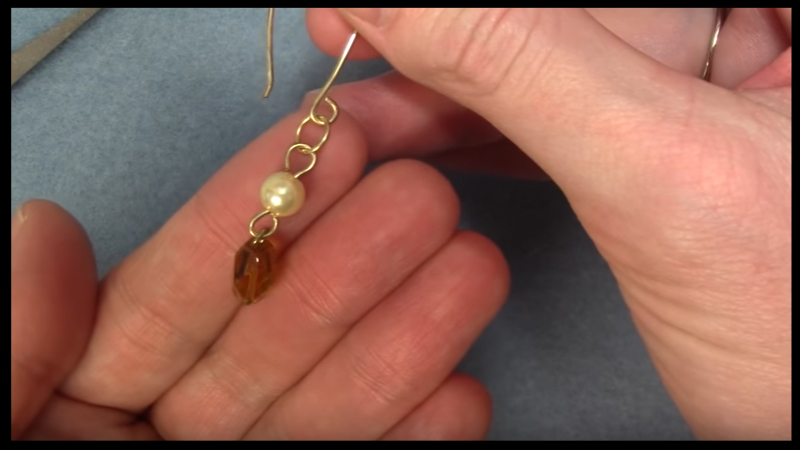
Use both pairs of pliers to grab each side of the ring and close by twisting each side inward until the ends meet.


