Jump rings are a necessary supply for majority of jewelry projects. Learning how to take your pliers and wire to make them on demand as needed is a great way to add flexibility to your work and save storage space. Grab your tools and check out the above video to learn the easy way to make quick jump rings.
Supplies
Optional
Directions
Here are the step by step directions to make quick jump rings.
Step 1:
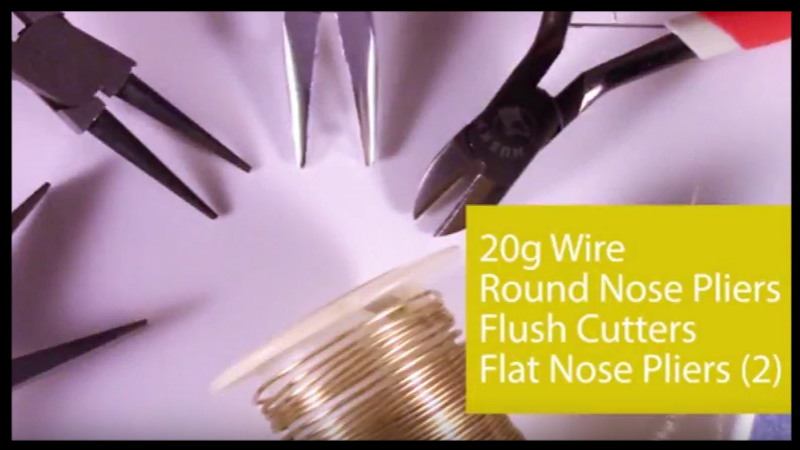
Gather your supplies together.
Step 2:
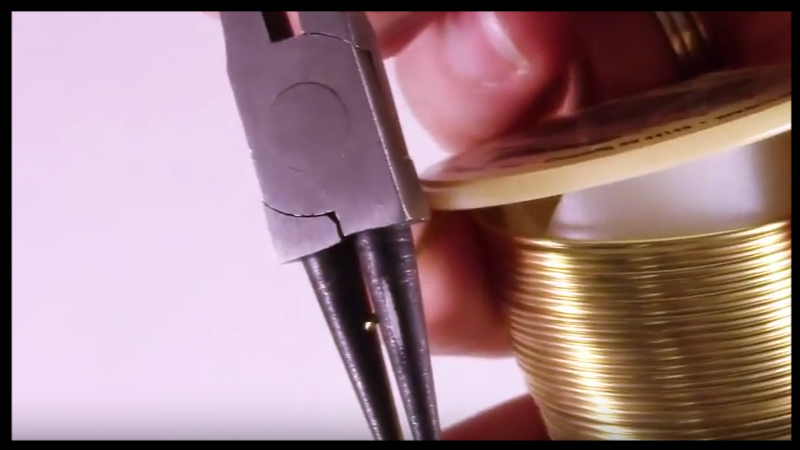
Unwrap wire from spool and choose the desired wideness of your jump ring by placing it on the round nose pliers.
Step 3:
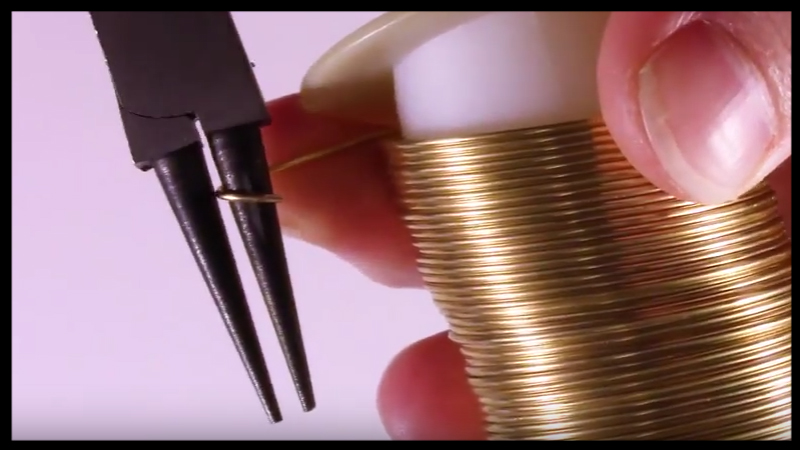
Tightly grip the wire with the pliers and start turning the wire into a coil.
Step 4:
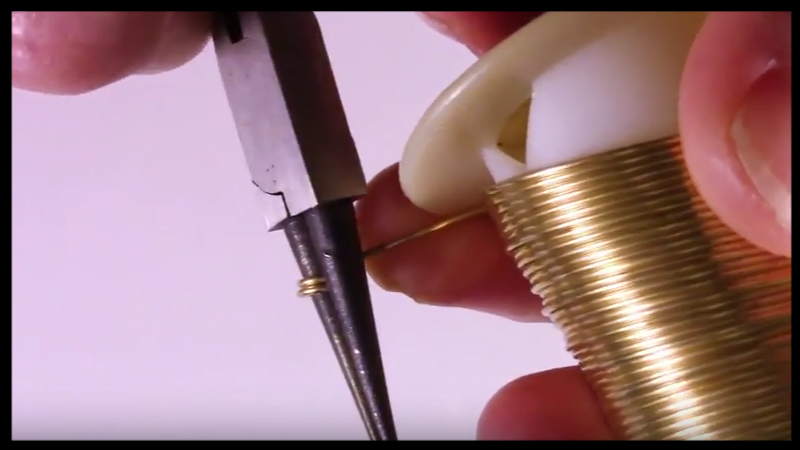
Place the index finger from the hand holding onto your wire spool at the bottom of the wire, pressing upward as you feed it onto the pliers.
Step 5:
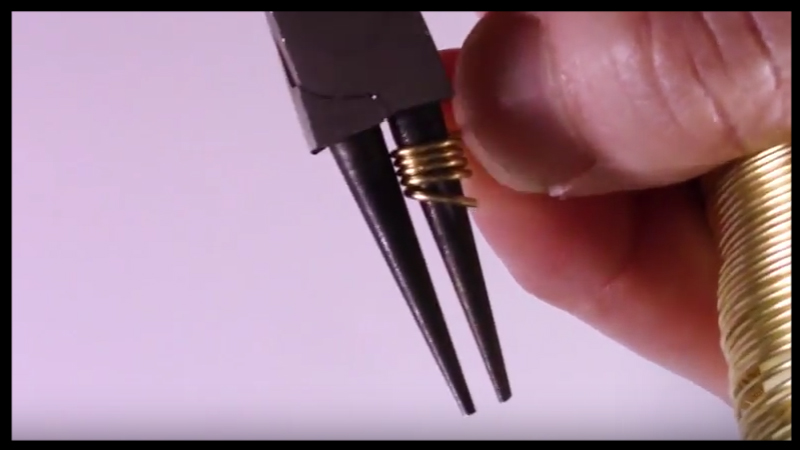
Make sure the wire is feeding outwards towards your plier tip to remain consistent with your shape size.
Step 6:
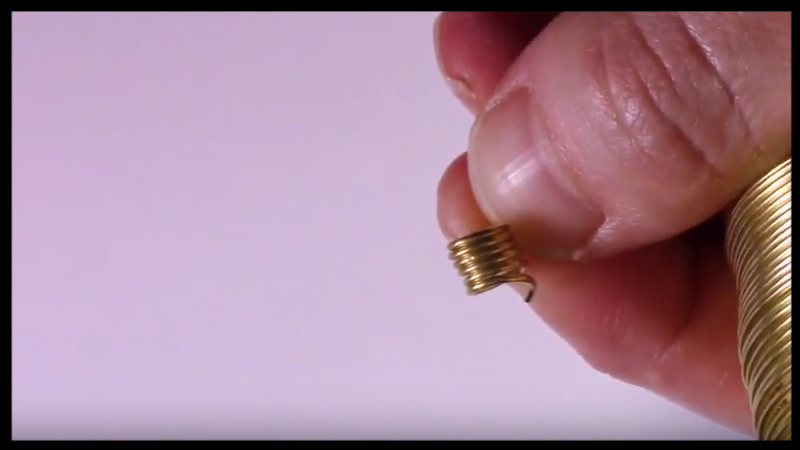
Create as many rotations as desired based on the amount of jump rings you need.
Step 7:
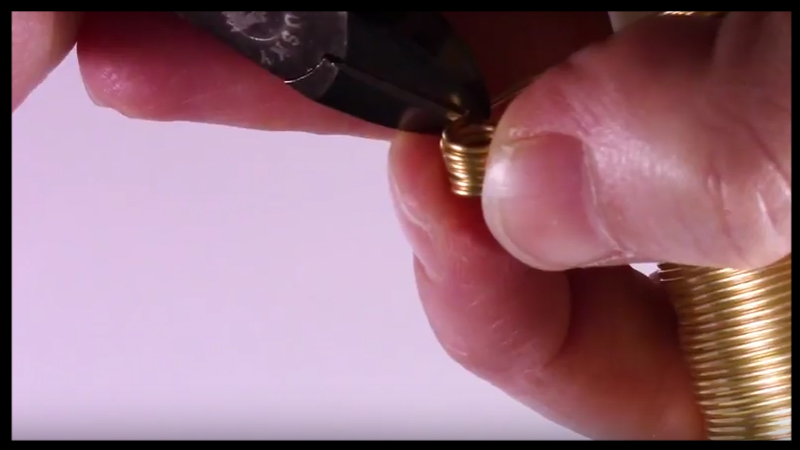
Take the flush cutters and trim the wire from the spool when done.
Step 8:
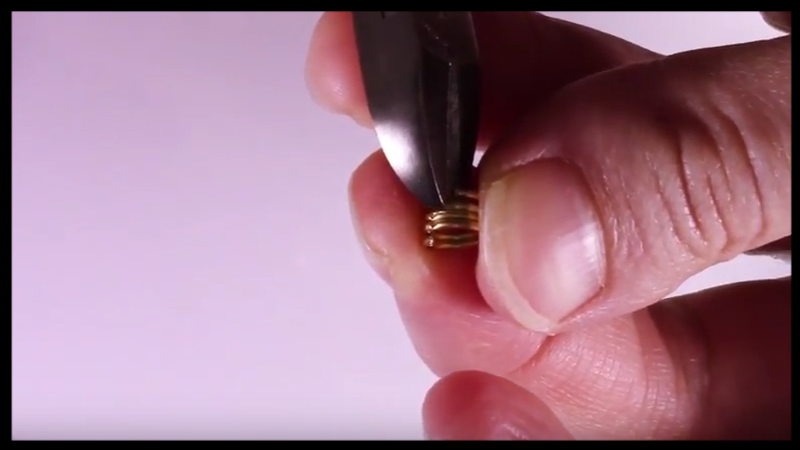
Grab the coil and align the flush nose pliers to the end of the coil and start clipping inward.
Step 9:
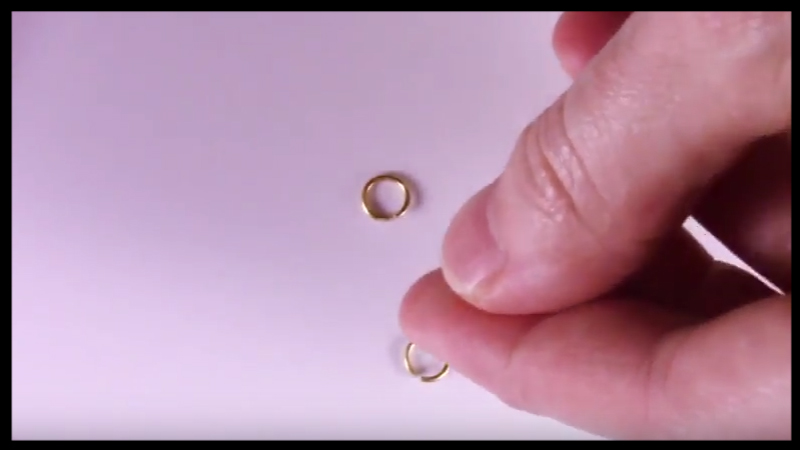
The jump rings will fall as they are released from the coil. When done gather the rings together and smooth out any edges.
Step 10:
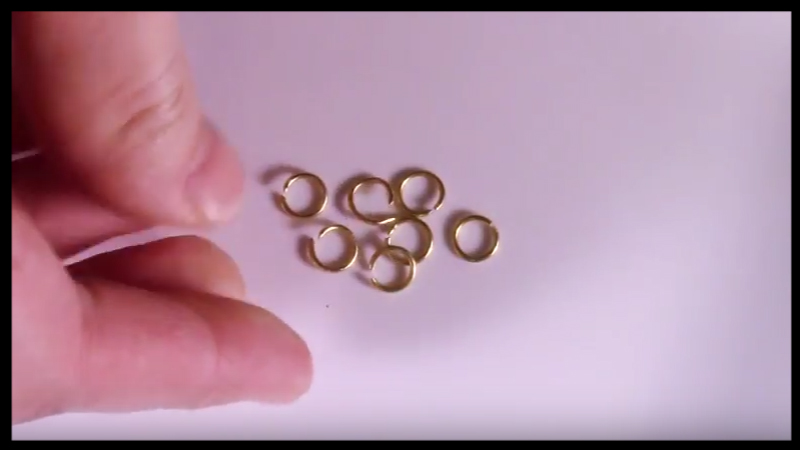
Grab two pairs of flat nose pliers to twist open and close your jump rings pushing inward until the ends are aligned.
Tips
- Use two pairs of flat nose pliers to twist outward for opening or closing the jump rings.
- Use a mini file to smooth out the edges after cutting the rings off of the coil.


