If you have a few boring beads or undrilled beads you are looking to freshly incorporate in your new designs, look no further. Create a handmade bead cage for your piece that is perfect to use as a pendant or a component paired with chain or wire. No special tools required. Simply grab some wire, pliers, and your hands to start wrapping a wire bead cage today. Follow along in the above video or check out the step by step directions below.
Supplies
Directions
Here is a step by step guide on how to make a wire bead cage.
Step 1:
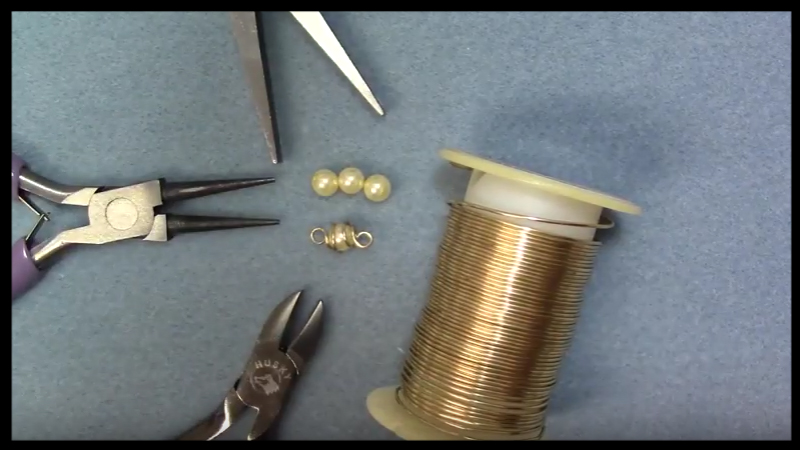
Grab your supplies together. You will need 20 gauge wire to wrap, flush cutters or side cutters for trimming the wire, round nose pliers for creating your end loops, and flat nose or chain nose pliers for holding the wire in place as you create your spiral.
Step 2:
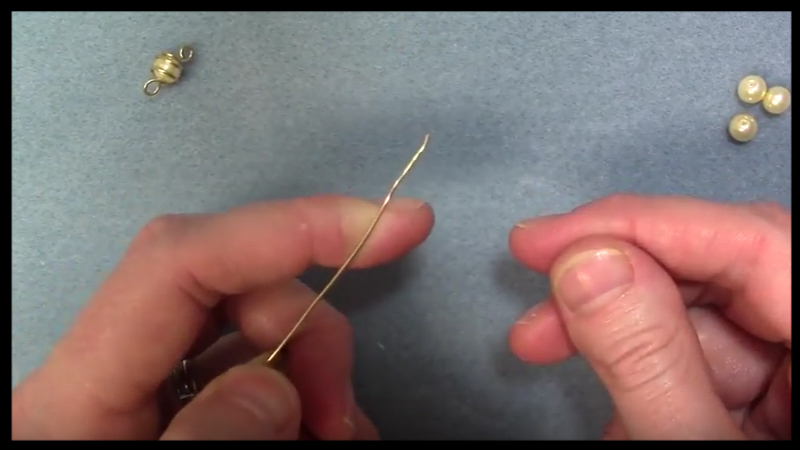
You will need approximately two to three inches of wire for creating your cage. Work directly from the spool by extending your wire outward.
Step 3:
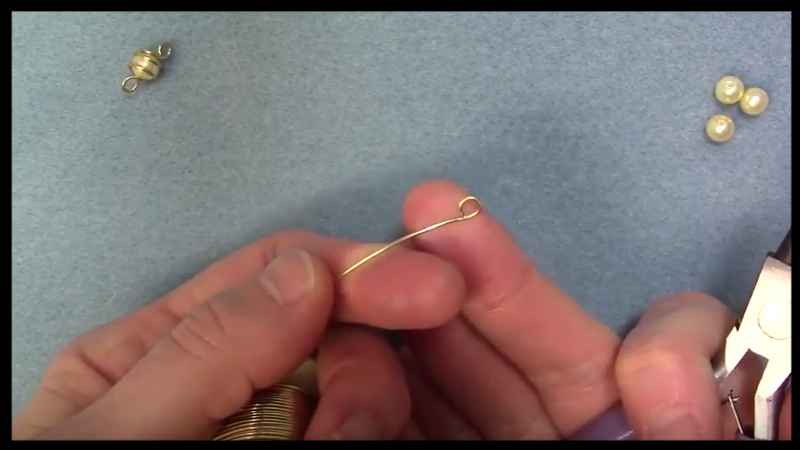
Take your round nose pliers and roll the wire back creating your first end loop.
Step 4:
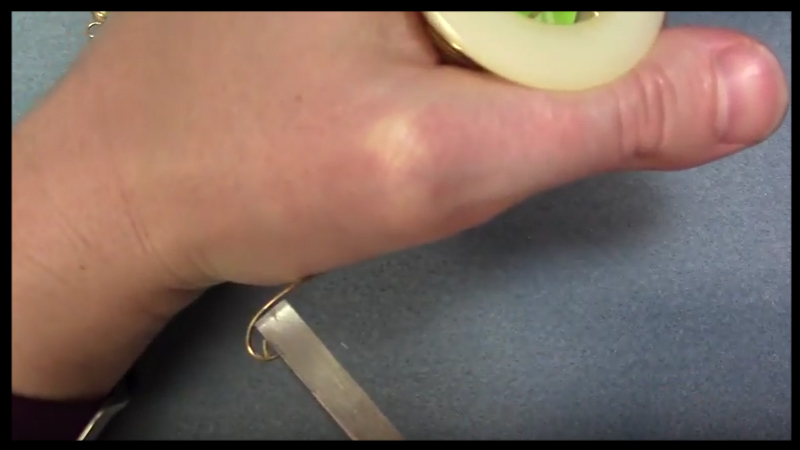
Hold your loop steady by securing with your flat nose pliers halfway. Take the remaining wire and spool, curving the wire around the loop to the corner tip of the pliers.
Step 5:
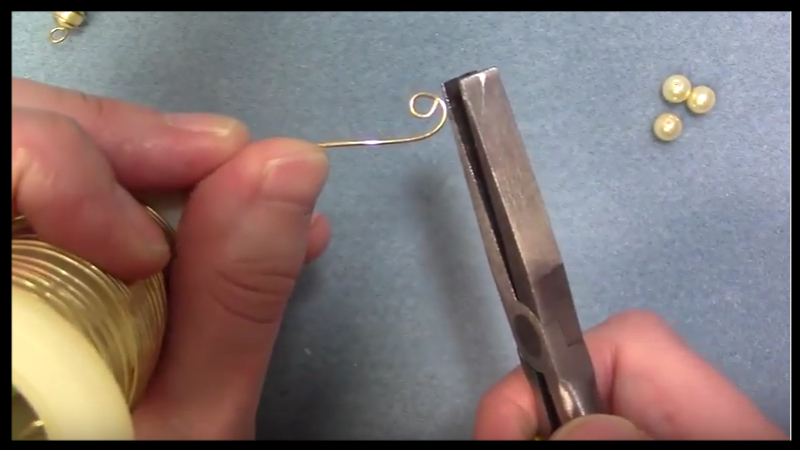
Release your hold on the wire with the round nose pliers and turn your wire 90 degrees backwards with your other hand. Secure the beginning spiral with your round nose pliers as you continue to curve the wire upwards completing your first full rotation of a spiral.
Step 6:
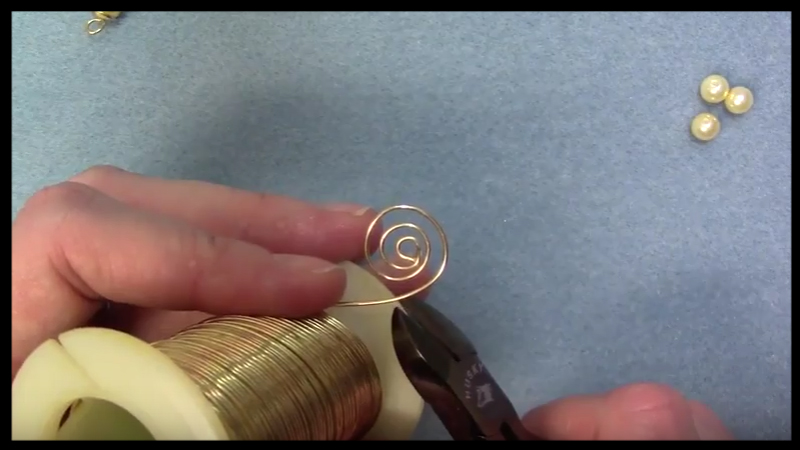
Continue in this pattern until you have made three full rotations round the center loop.
Step 7:
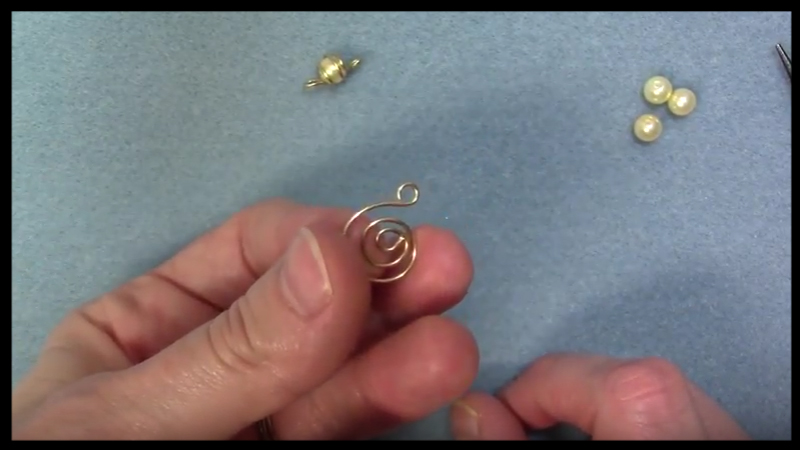
Use your flush cutters to trim your spiral from the wire spool. Use your round nose pliers to create an end loop to your piece.
Step 8:
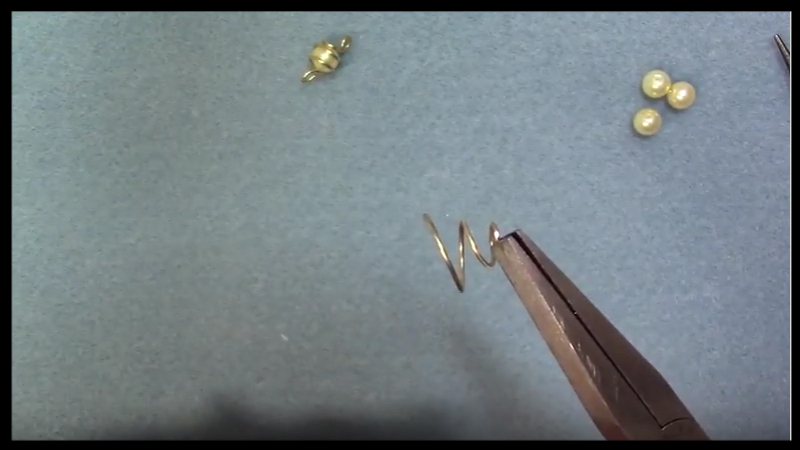
Holding your spiral facing upwards, use your thumbs to start pushing your center outwards. Take your round nose pliers to grab tightly as you continue to push your form outward.
Step 9:
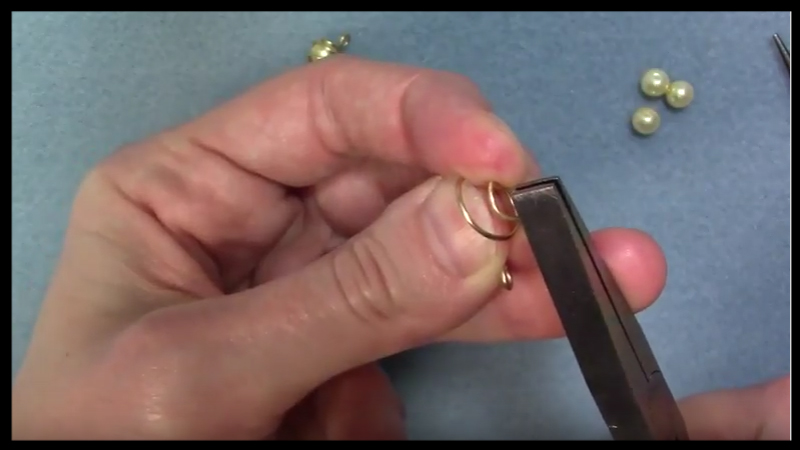
Take your round nose pliers, grabbing the center loop securely and pressing upwards at a 90 degree angle. Do the same thing on the outward loop which will serve as the bottom by pulling downwards.
Step 10:
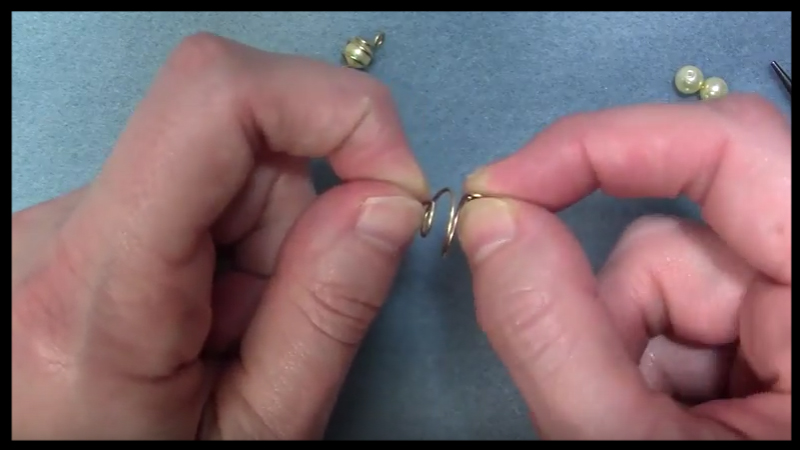
Using your fingertips, take a hold of each loop and continue to rotate in opposite directions to twist the spiral inward and tighter together.
Step 11:
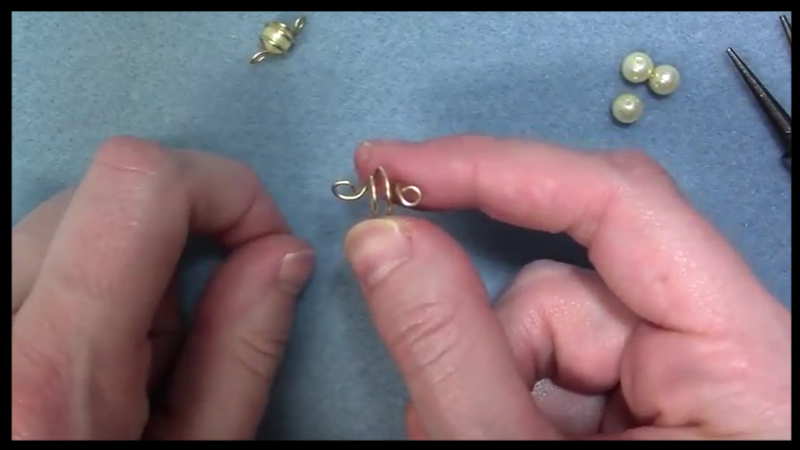
The widest rotation should be the in center with the spiral continuing outwards as it gets smaller to the center.
Step 12:
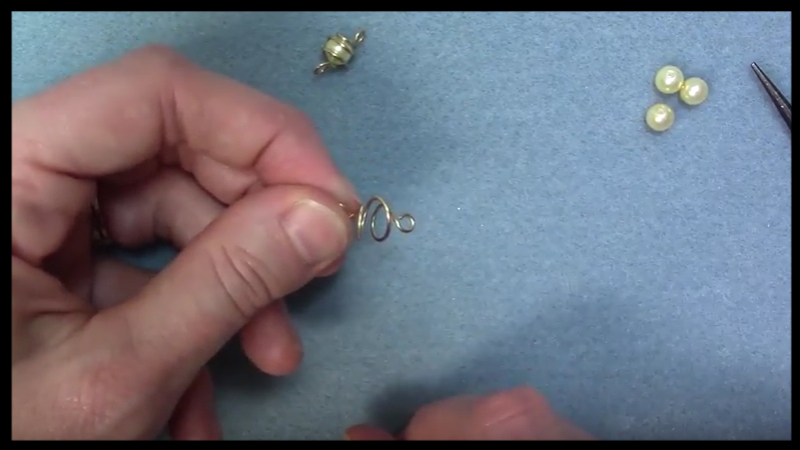
Use your round nose pliers to pull open at a V shape angle.
Step 13:
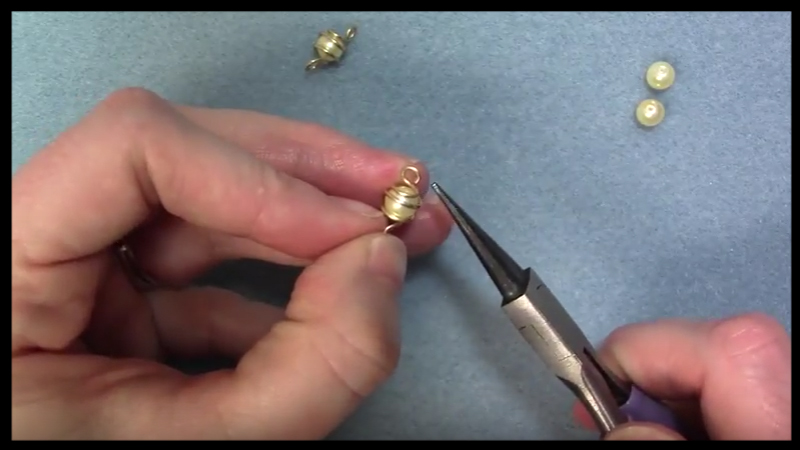
Place your bead inside and pull close. Use your fingertips to grab each outer loop as you continue to rotate the wire in opposite directions to secure the wire closely against the bead. For the right hand, you will rotate towards your body as the left hand rotates the wire away from your body.
Step 14:
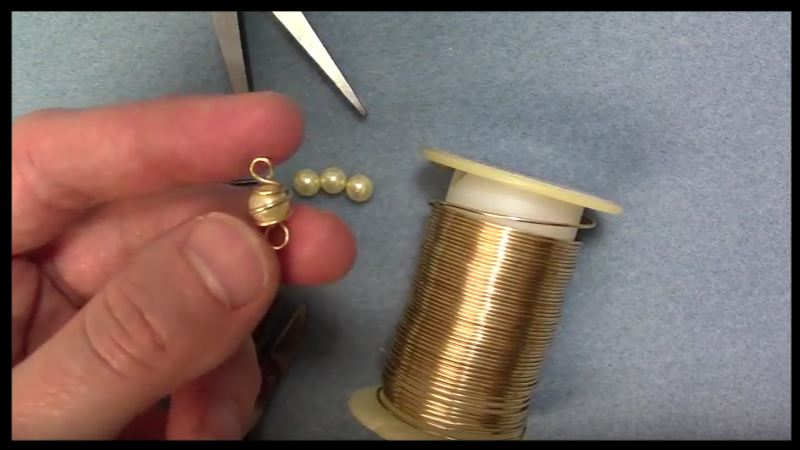
Trim your loops as need to make them even and attach to pain or other wire beads you create.
Tips
- Check out my video on how to close a headpin in three steps to learn how to create the perfect loop by watching below.


