Learn the best way to close a headpin in three steps and make a perfect loop each time. This easy process will help to save you time and make it easier to complete your latest project. Get your supplies ready and come join in with today’s jewelry making tutorial.
Supplies
Directions
Here are the steps to close a headpin easily and securely.
Step 1:
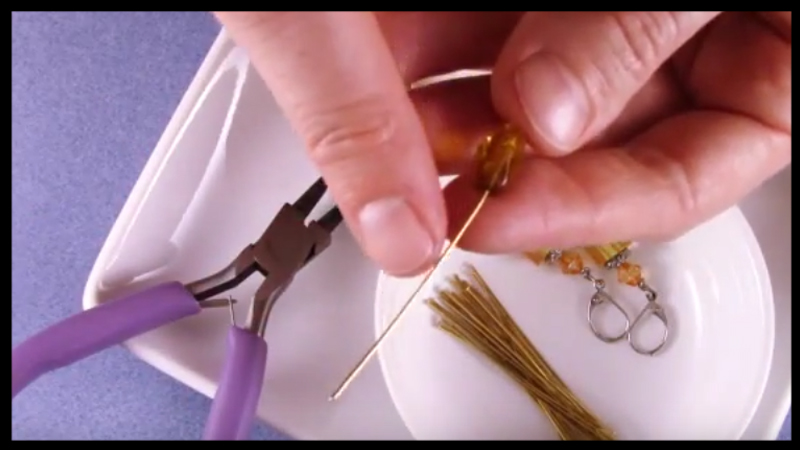
Place your beads onto the headpin needed for your project.
Step 2:
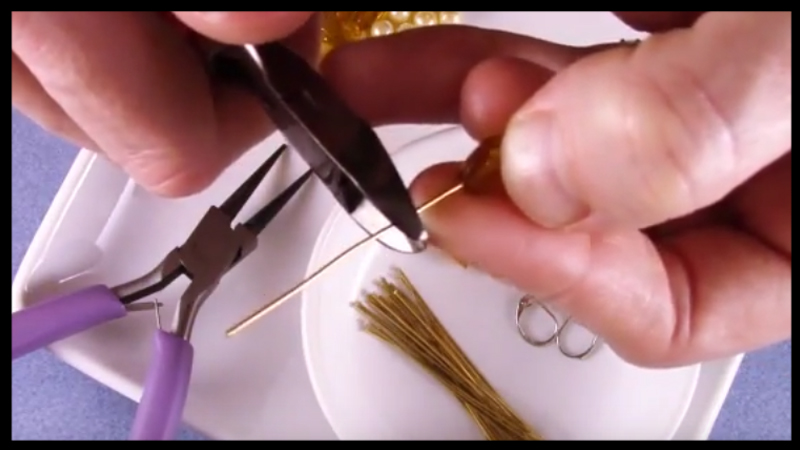
Trim any excess wire, leaving approximately ⅜ inch left.
Step 3:
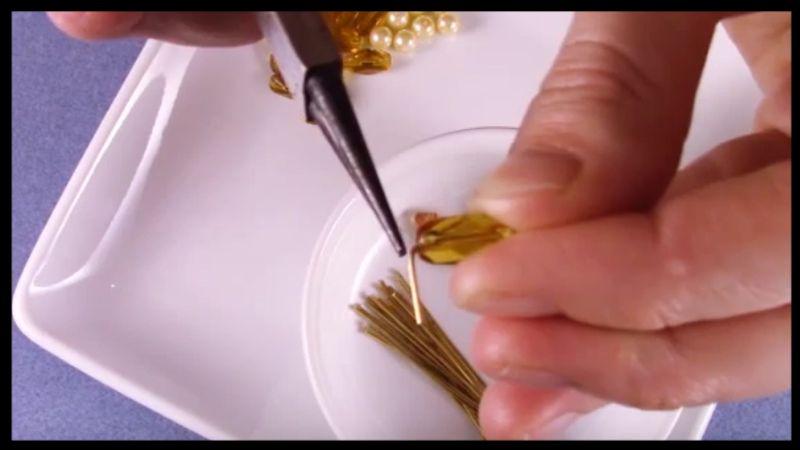
Keeping your beads flush with the bottom of the headpin, take your round nose pliers and bend the excess wire at a 90 degree angle.
Step 4:
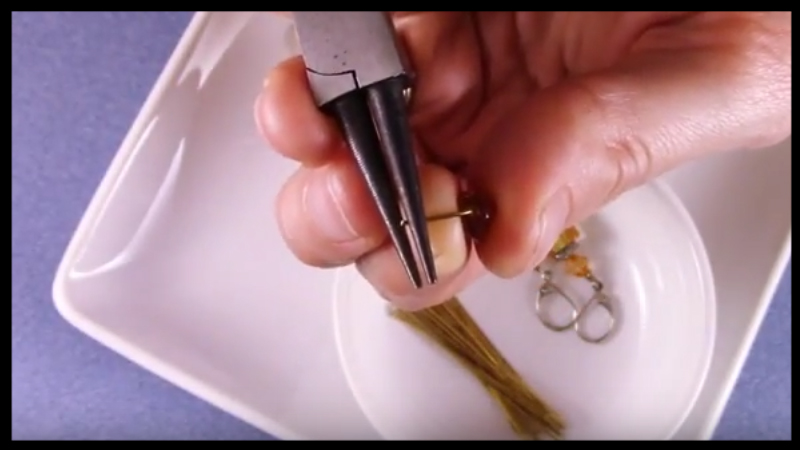
Use your round nose pliers to grab the tip of the wire and bend upwards at another 90 degree angle.
Step 5:
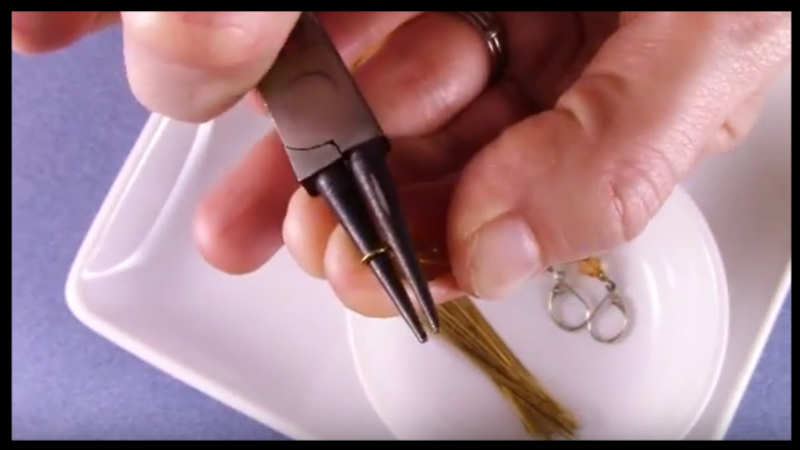
Flip your wrist 180 degree with your palm facing up. Roll your wrist inwards, creating the circular shape at the end until the end meets the bottom of the wire on top of the bead securing it.
Step 6:
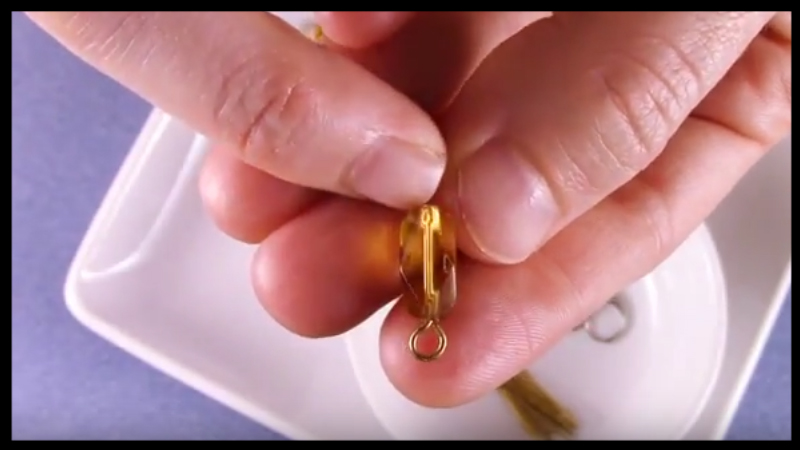
To attach to another loop, simply leave a small opening before closing the circular shape completely and connect.
Tips
- To ensure your beads stay flush with the bottom of the headpin, place your thumb at the bottom of the finding applying pressure upwards while your index finger stays flush with the top of the bead applying pressure downwards.
- Use stainless steel tip round nose pliers to prevent any color transfer of the black coating to the wire.
- Use a sharpie marker on your round nose pliers to mark the area of the loop. This will ensure the size of the loop is consistent when creating multiple eyepins.
- If your loop is too big, reopen the circular shape just a little bit and use the flush cutters to trim down. Next, insert your round nose as much as you can before reclosing, making sure to keep the pliers tight to the wire in order to maintain the circular shape.


