Here is a great way to customize your handmade earrings by learning how to make a wire earring hook. This technique offers lots of new ways to accentuate your designs and add some more style to your earrings. Just follow the below instructions and other important tips to get started today.
Supplies
Directions
Here is a step by step guide on how to make a wire earring hook.
Step 1:
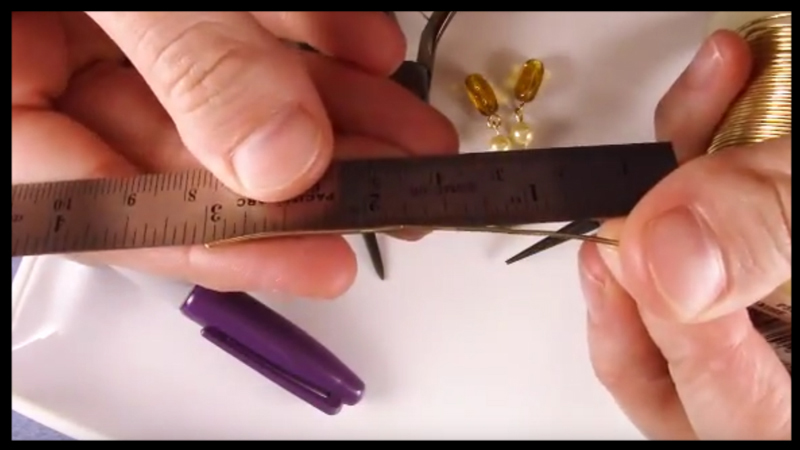
Measure the length of your wire at 2 inches from the spool and mark your place by using your thumb and index finger.
Step 2:
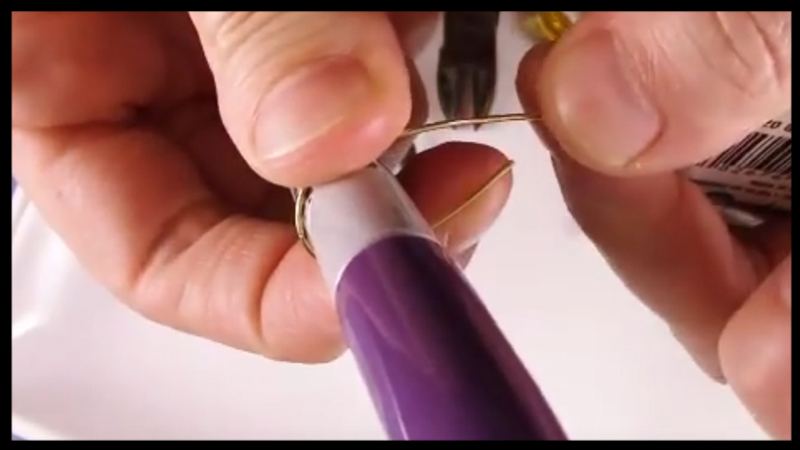
Place your sharpie pen at the center of the wire, folding it around to create a partial teardrop shape.
Step 3:
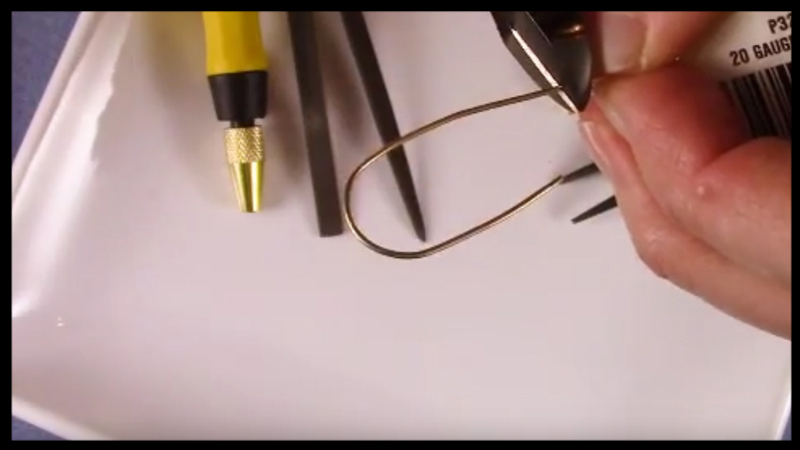
Use the flush cutters to trim the wire from the spool at a point right below where the wire aligns.
Step 4:
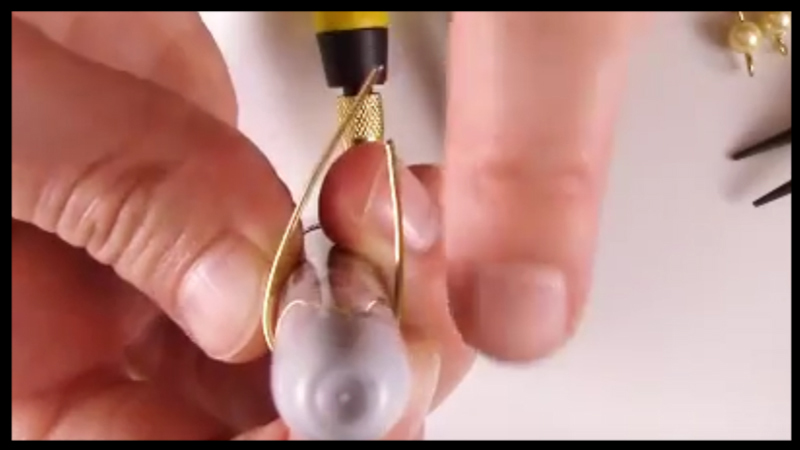
Place the wire back around the sharpie pen to reform, creating a more crisp angle.
Step 5:
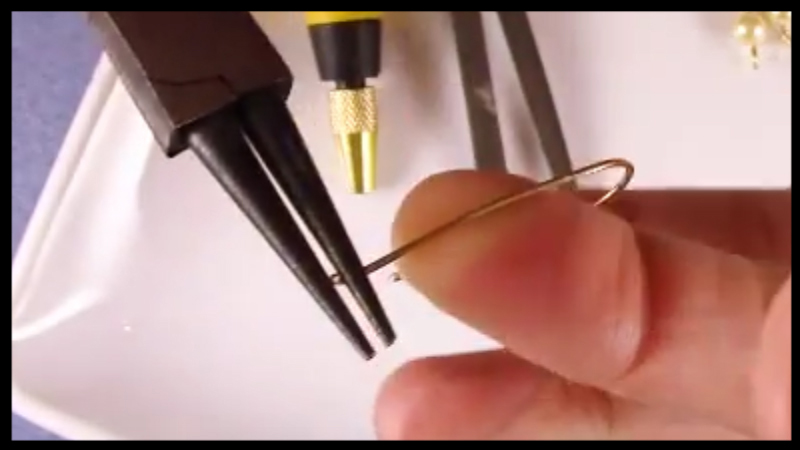
Use the round nose pliers at the longer end by rolling back the wire forming a complete circle that will be used to attach the earring to.
Step 6:
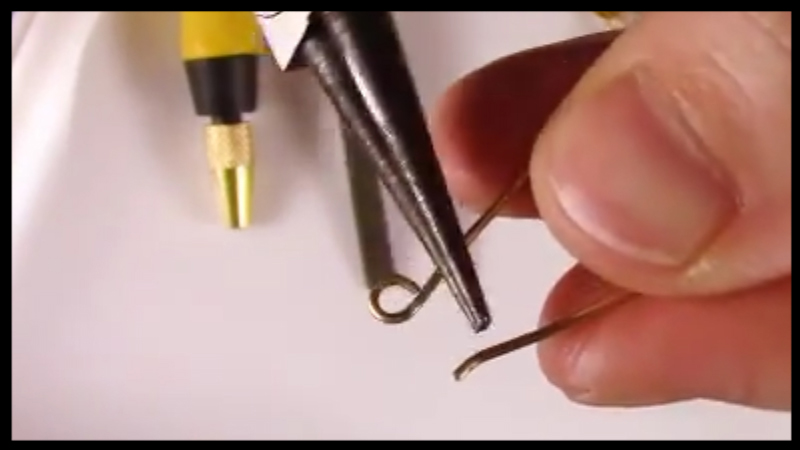
Use the round nose pliers at the other end and slightly bend the wire outward making a notch towards the exterior side.
Step 7:
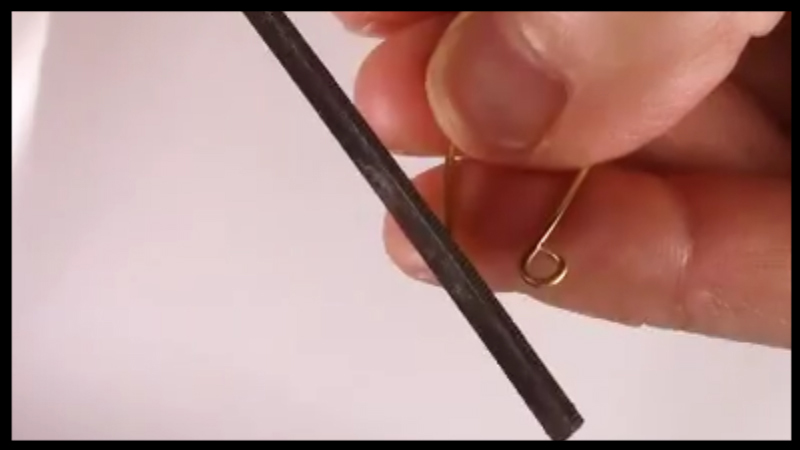
Take your mini file set and file inward from the edges at a 45 degree angle until all edges are smooth and a slight noticeable cone shape takes form.
Step 8:
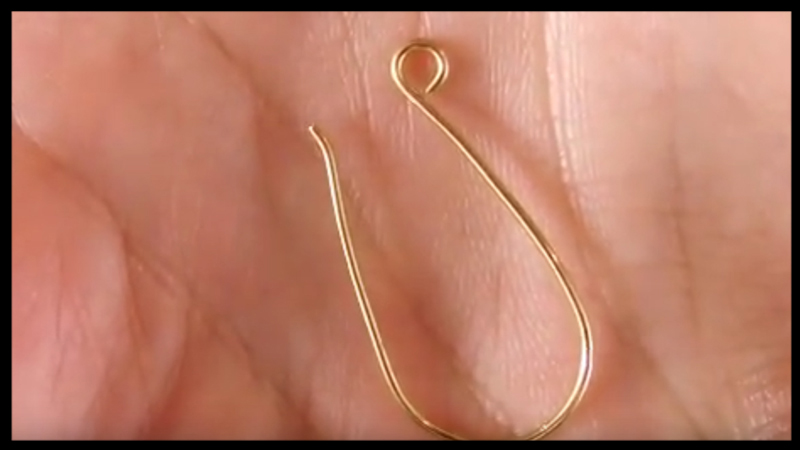
Check the end result of your hook and make sure it is aligned. When making a pair, it is at this step that you want to place each hook together and ensure they are identical.
Step 9:
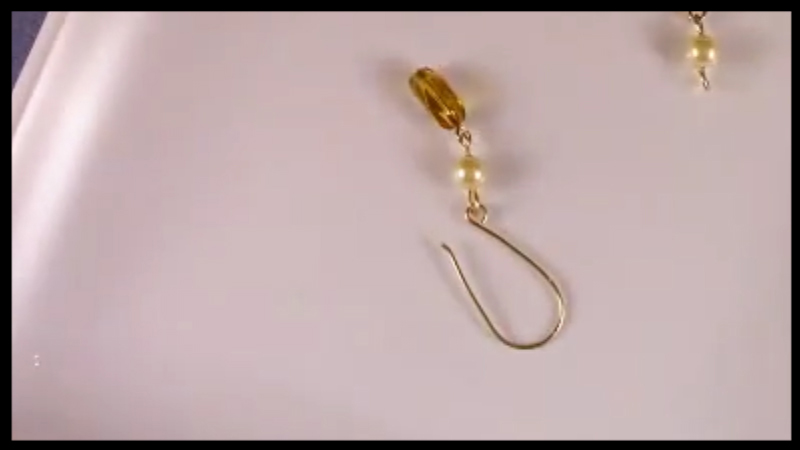
Attach your earring dangle to your newly create wire hook by slightly reopening the bottom loop to connect. Reclose the loop to secure your final piece.
Step 10:
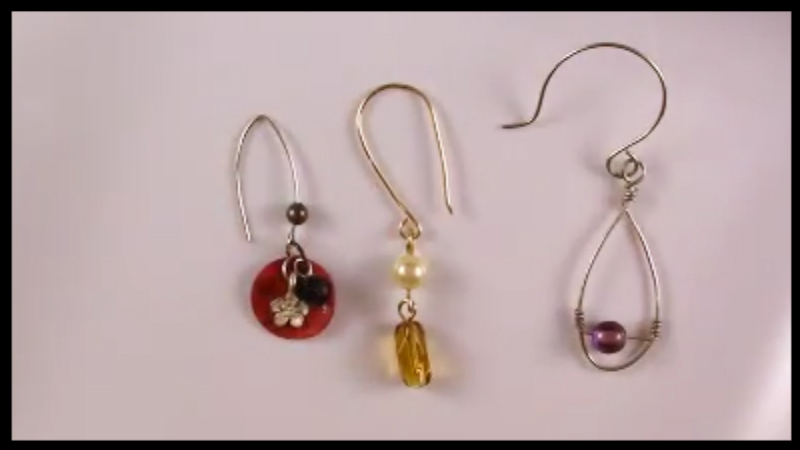
Experiment with other wire earring hook designs.
Tips
- Don’t limit yourself to just using sharpie pens for wire shaping. If you want well rounded hooks, use a glue stick for shaping the circular shape.
- Move the mini files towards the center, helping to create a cone shape point when complete. This is best done by moving the file in a single motion towards the center at a 45 degree angle.
- If your shape becomes distorted as you work with the wire, use the sharpie pen to reform the base shape.
- Craft wire is more dense to work with. Beginner jewelry makers that work with wire may find a sterling silver coated type to be easier and softer to manipulate.
- Use stainless steel tip round nose pliers to prevent any color transfer of the black coating to the wire.
- Use a sharpie marker on your round nose pliers to mark the area of the loop. This will ensure the size of the loop is consistent when creating multiple eyepins.



Thank you for this simple tutorial, Crystal.
Thank-You for so much for sharing… Patty❄