Add some unique personality to your jewelry findings by learning how to make paddle headpins. This technique with offer your designs more elegant ways to create floating style pieces. Check out the video and step by step instructions below on how to complete your paddle headpins project today.
Supplies
Directions
An easy to follow step by step guide on how to make paddle headpins.
Step 1:
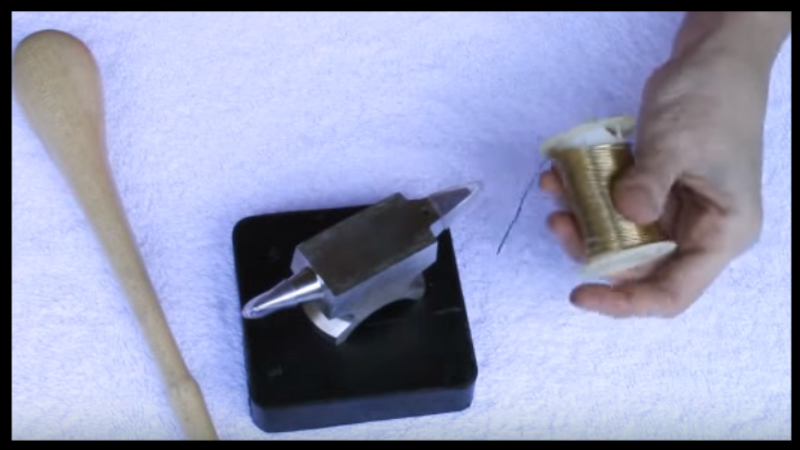
Take your spool of wire and trim the end making sure that it is flush.
Step 2:
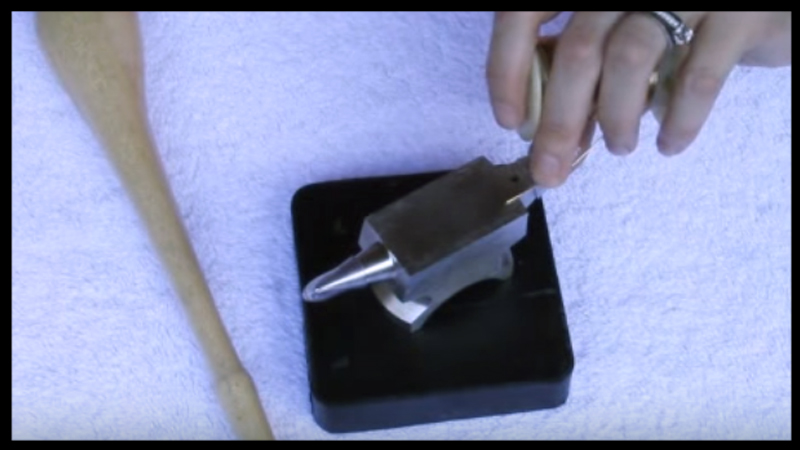
Place the tip of your wire 1/4in over the edge onto the anvil, aligning with the horn or the head.
Step 3:
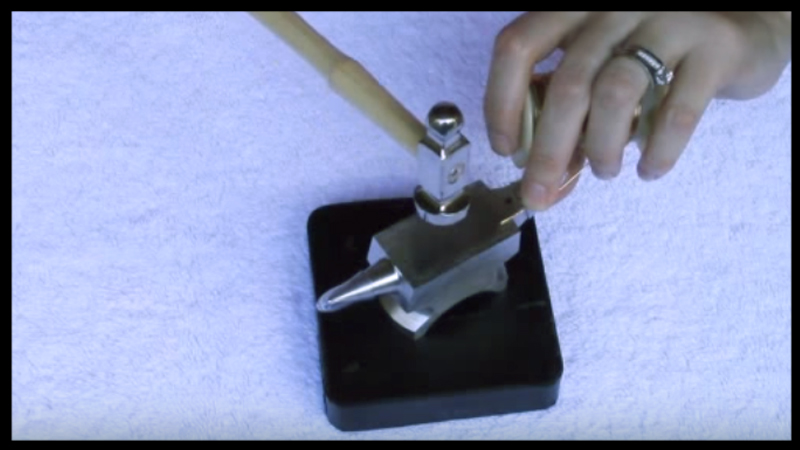
Secure the wire with a firm hold and use the chasing hammer to apply firm taps over the wire.
Step 4:
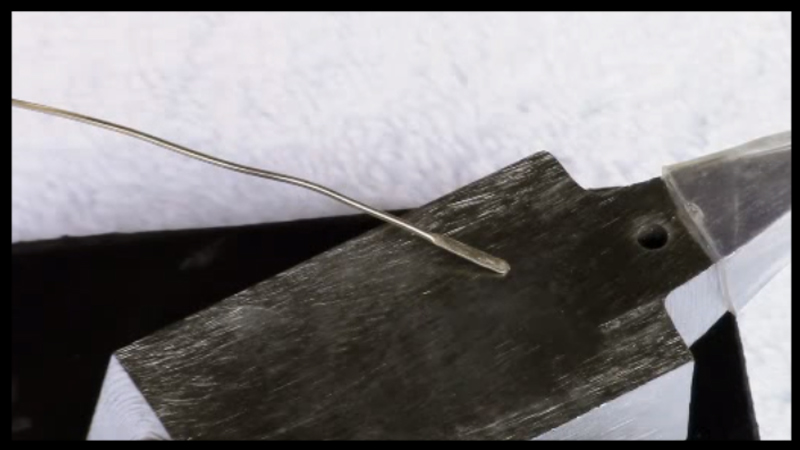
After 6 to 8 strikes, your wire should be widened with a slight indentation left from the edge of the anvil block.
Step 5:
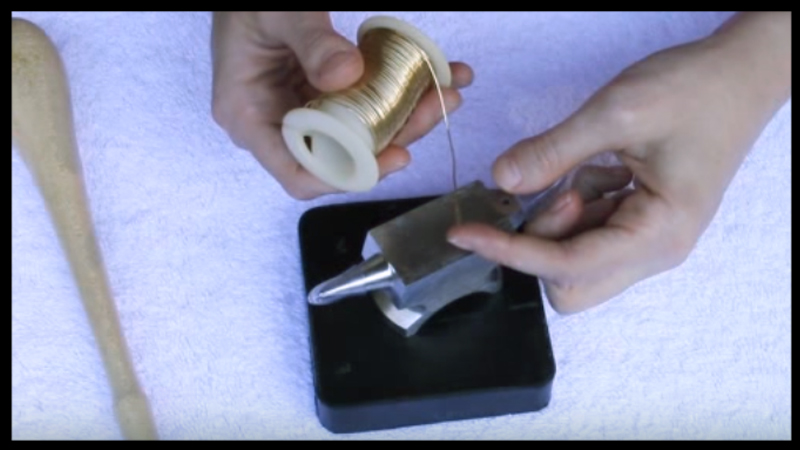
Use the mini file to smooth out any rough edges at the end of your paddle headpin design.
Step 6:
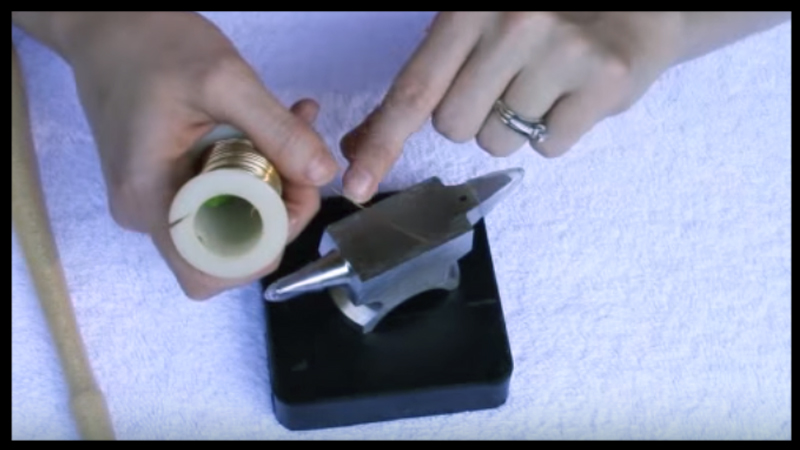
Trim your wire from the spool to the desired length of your paddle headpins.
Tips
- Craft wire is more dense to work with. Beginner jewelry makers that work with wire may find a sterling silver coated type to be easier and softer to manipulate.
- When using the chase hammer, make sure to bend at your elbow, not your wrist for firmer strikes.


